Hi everyone!
Today it’s my turn for another Krafty tips and tuts. I want
to show you how you can make paper roses for your cards or projects. You can make
them out of colored paper, design paper
or cardstock. It’s easier if you use thin paper! Now you have always the
perfect roses for your project!
So, this is what you need:
-
- A piercing mat
- -
Glue
- - Scissors
- - Embossing tools in different sizes
- - Flower punch or die cuts (every size works)
Step 1: let’s start with punching out 4 identical flowers
Step 2: now you have to cut them like the flowerparts on
this picture. You keep 1 half over, you can use it for another flower.
Step 3: you have to make circles on all the parts from the
flower with your embossing pen. By doing that, the parts curl up and you get
the perfect shape for your rose.
For the tiny parts, you have to use the smallest embossing
pen.
This is how they look like after embossing them all.
Step 4: after that, you have to curl the outsides of the
petals with your smallest embossing tool. You have to lay your petal with the
round side facing upwards. Now you can emboss the outsides.
Your petals have to look like this, we’re almost there! If
they lost their shape from the second step, you have to make them curl again
with the embossing tool.
Step
5: Glue all the parts together, starting from the underside

Now, you have your own homemade paperrose!
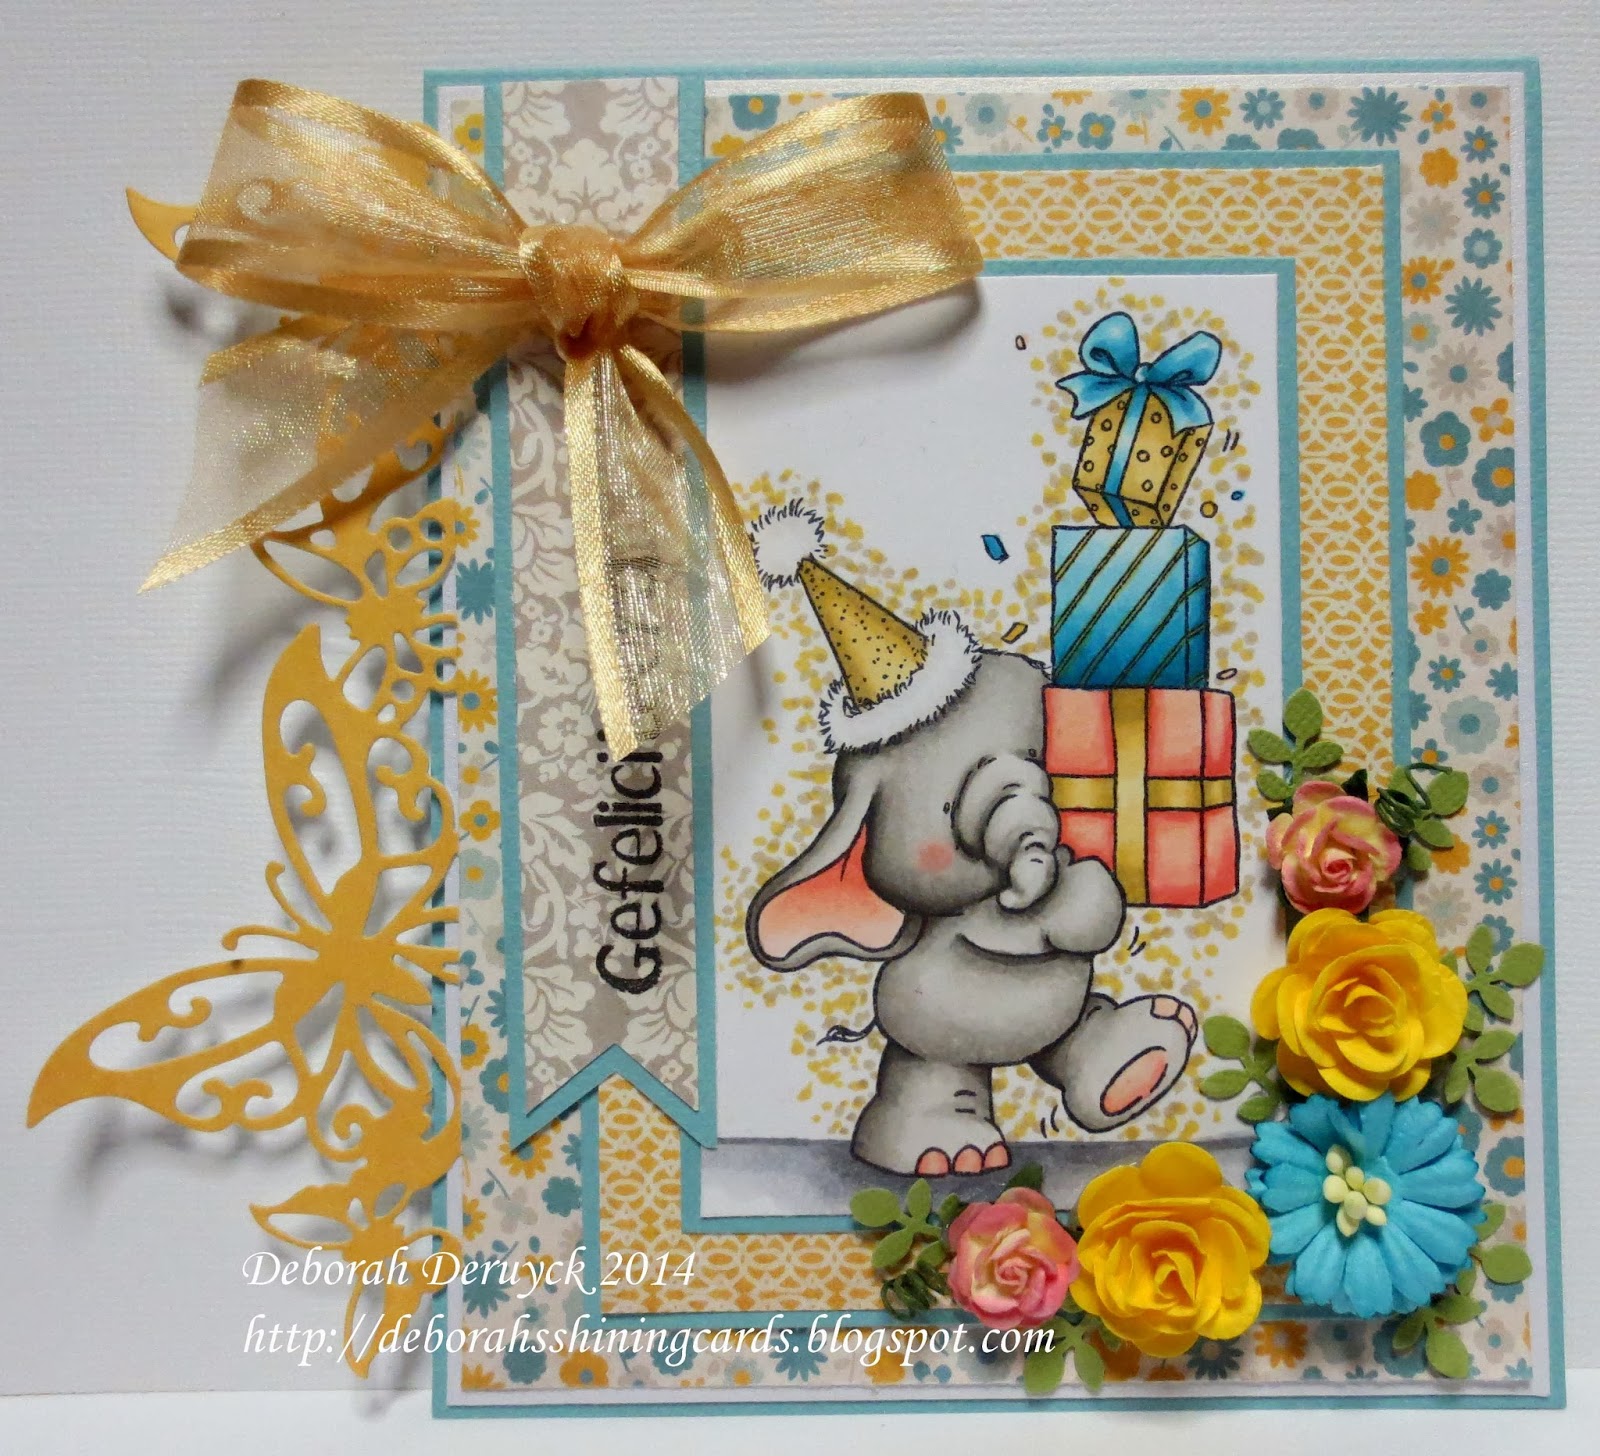
And that's my card, with my own homemade paperroses, featuring Smarty pants from Kraftin' Kimmie Stamps!


