Hi everyone,
Today it's my turn to share a Krafty tip or tute with you.
Someone of you asked how to do stippled backgrounds.
Our past Krafty Girl, Tracy Valure, did an awesome video tutorial of this technique and you can watch it HERE on our YouTube channel.
But for today I wanted to show you something simular. You can do this technique with 1 colourgroup or you can mix it up with a few extra colours, just like you want.
Keep in mind that the darkest colour has to be the closest to the body or object and the lightest colour has to be further away.
Let's start! If you click on the image, they will be bigger! ;-)
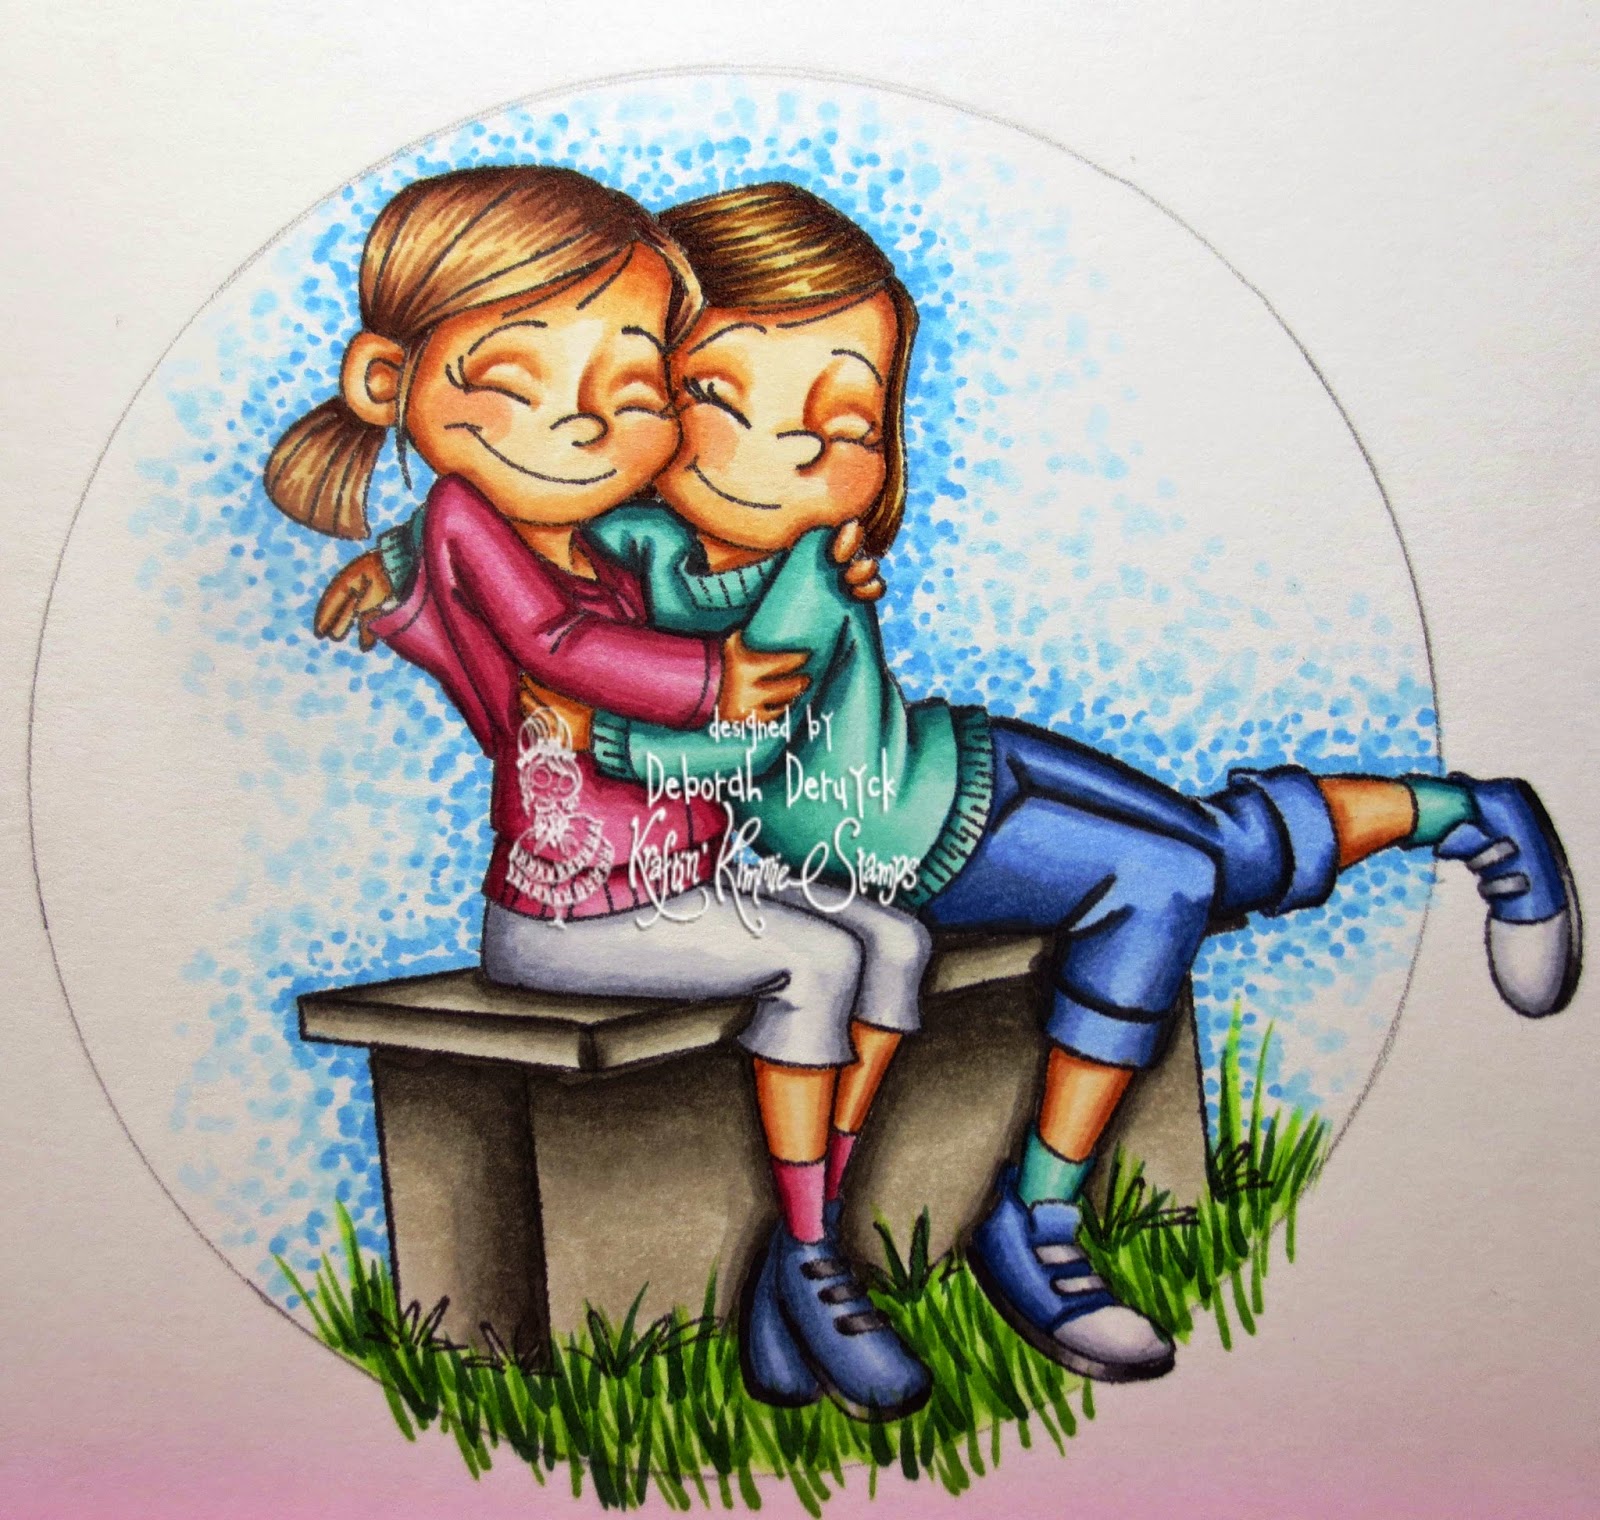
I've used these cute girls from Emilie's set "Squishy hugs". I coloured the girls first and than the grass, now I'm ready to colour the sky.
First step: Take your darkest colour (B02 here) and add smal dots against the image. Come back with the same colour and add stipples around the image. Stipple close to each other when you are the closest to the body and stiplle with more room when you are further from the image.
Second step: take a marker who is lighter (B00 here). Add some dots between the previous dots and go a little further from the image like on the picture. you have to see a contrast from dark to light.
Third step:
To the same with your lightest colour (B000) here
Next step: Are you happy with the result? I'm not!
I don't like to see some "shadowlines", so I take my darkers maker again (B02) and add some extra dots out of the previous B02 zone (further away from the image, to smoothen the contrast)
And I go back with my B00 and B000 marker too until I have the result I've wanted.
And that's the card I've made with the image:
I hope you enjoyed it!
Deborah


Prachtig Deborah.Groetjes Joke
BeantwoordenVerwijderenHelemaal super!! Dank je wel voor de uitleg!
BeantwoordenVerwijderenEen fijne dag vandaag,
Colinda
Schitterende kaart Deborah! Prachtige uitleg en zo kleurrijk.
BeantwoordenVerwijderenGroetjes Antoinette
I had to pop over from facebook to take a closer look! I love this card. Beautiful colors and design! thanks for the tutorial too. Now I'm running over to buy the image! Thank you for the inspiration, Deborah! Hugs, Elizabeth xx
BeantwoordenVerwijderen